Knowing how to build a campfire (and keep it going) in any condition is among the most essential survival skills. There are a lot of do’s and don’ts when it comes to building a campfire, whether it is at an established campsite or out in the backcountry. Here are the basics for fire-building:
Establish a Fire Bed
The very first consideration is safety. If you are on a campsite with an area which has been set aside for making fires, then it’s simple to take advantage of it.
However, if you’re on your own in the wild, you will need to prepare your own place to build your campfire. First, you need to ensure that the area in which you are going to build the fire is not surrounded by overhanging tree branches, shrubs, or is in the middle of a dry grassy area. If it’s very windy, you also need to ensure that the fire is not situated where sparks or pieces of burning material can be blown off and on to anything else that could set off another fire that is considerably larger than you want. Of course, a gentle breeze will help your fire along nicely.
You MUST lay your fire on bare earth, not on grass – and definitely not on dead grass. If there is no bare area, you will have to make one by digging away the grass sods and raking away any dead leaves and plant materials.
Now you need to make the fire bed by bringing in soil and creating a mound about 3” to 4” thick in the center of your bare area.
Gather the Wood for Your Campfire
Next, you need to gather your materials. What you will need is tinder to start the fire, kindling to get it going, and logs to create a roaring fire.
Tinder
Tinder can consist of any light dry materials such as small dead twigs, dried grass or leaves, and so on. Just make use of what is available. Tinder burns very quickly, so ensure you have enough to get your kindling going. You can also use char cloth which you can make at home before you set out on your trip. It is easy enough to make out of pieces of old cotton clothing.
Kindling
Your kindling also needs to be dry to get going quickly. Any old dry twigs or pieces of bark or tiny branches can be used for kindling. They should be about the thickness of a pencil. If it has been raining and everything is wet, you could try to remove the wet bark with your knife.
Logs
Now that you’ve started the fire, you need logs to keep it going. You don’t want them to be too big. The reason for that is that if they are extremely thick they will take forever to get going, and they may also burn for longer than you want. Aim for something about the same width as your arm.
When collecting your logs remember that they need to be dry or dead. Green wood will result in a lot of smoke and no flame. However, your logs can be a little damp if you cannot find any that are completely dry (although this is not ideal) as the kindling will dry them out.
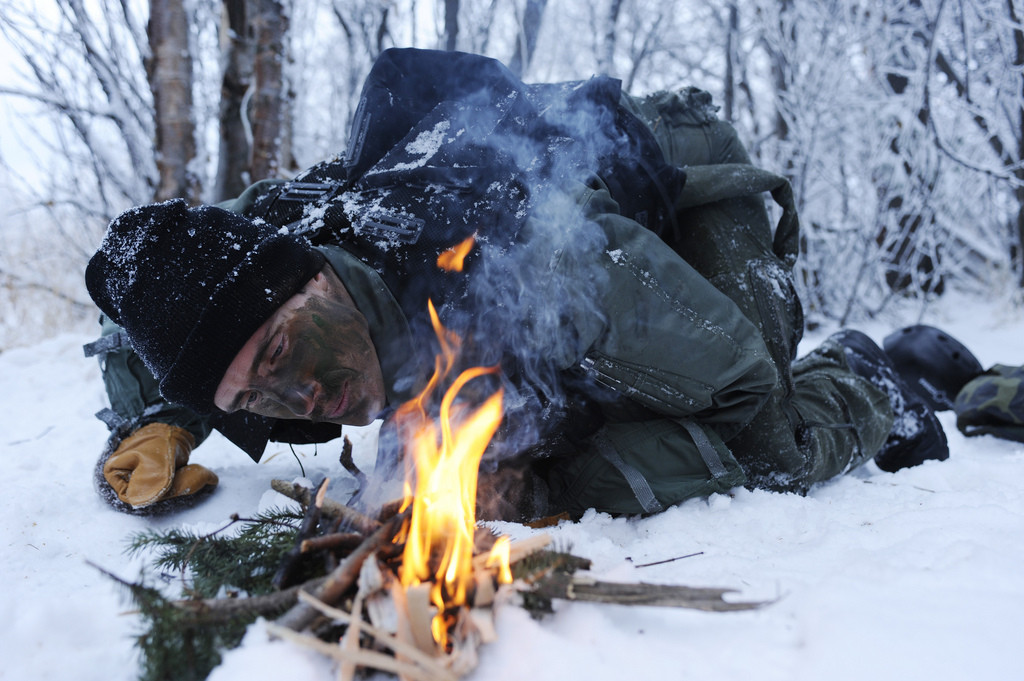
Firestarting © UNC – CFC – USFK
How to Lay Your Fire
There are several ways that you can lay the fire, and the following are three of the most common.
The Lean-to Fire Lay
The lean-to camp fire lay is created by sticking a long piece of kindling into the bed at about a 30º angle. Place a bundle of tinder underneath the stick and then add small pieces of kindling around the tinder. Then lay some more small pieces of kindling around the long piece in the ground followed by another layer of larger kindling. Then you can set light to the tinder and off it goes.
The Teepee Fire Lay
The teepee campfire lay starts with your tinder in the center of the bed. Above this you build a teepee of kindling, leaving it open on the side where the wind is blowing which will make certain that the flames are blown onto the kindling. Add more layers of kindling. Finally, make a larger teepee around this with your fuel logs. Now light the tinder. Working this way sends the flame upwards and eventually the whole thing will fall, at which point you just add more logs.
Log Cabin Fire Lay
A third method is what is called the log cabin lay. Begin with a small teepee as shown above. Then take some large fuel logs and lay them on two sides of your teepee. Add smaller fuel logs across the first fuel logs at right angles. Keep adding smaller shorter logs gradually building the whole thing up to pyramid shape. Now light the tinder.
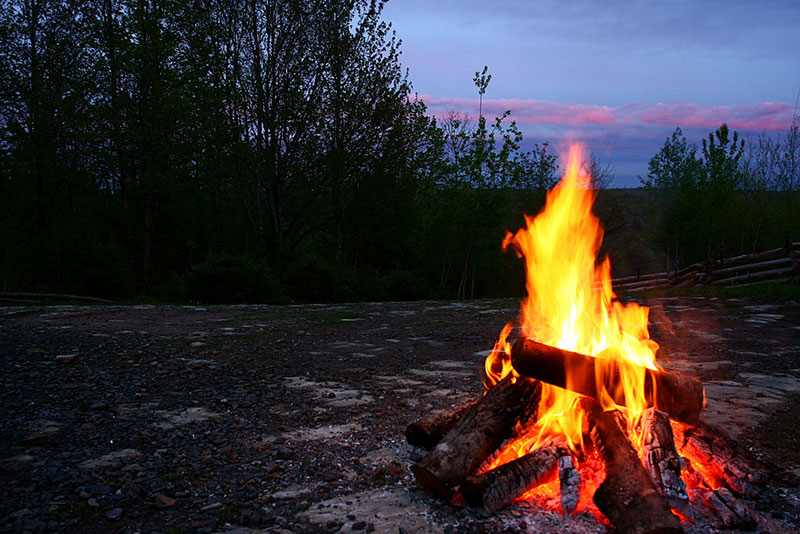
Campfire © Martin Cathrae (Flickr)
Extinguish Your Fire
The last thing you need to do when you have finished with your blazing campfire is to ensure that it’s put out completely. Sometimes this takes longer than you might imagine: you need to allow twenty minutes or so.
Resist the urge to throw your whole bucket of water over the fire because what it will do is flood the pit. That’s a problem if you want to use it again. Instead, sprinkle the water over the embers in order to extinguish them. As you do this, stir the embers with a shovel or a stick in order to get the water spread evenly on to them. When the hissing noise eventually stops and there is no steam, the fire is pretty much out.
Then put the back of your hand near to the ashes – not on to them, or you may get a nasty shock. If they still feel warm, keep sprinkling water and stirring until they are cool. Job done.
Finally, get rid of the ashes by scattering them around on the ground of the campsite. If you dug your own fire bed, you should replace the soil and sods that you dug up.
Knowing the fire-starting basics is crucial. But, a proper fire starter can give you a real leg-up.