In a survival situation, follow the rule of threes. Remember:
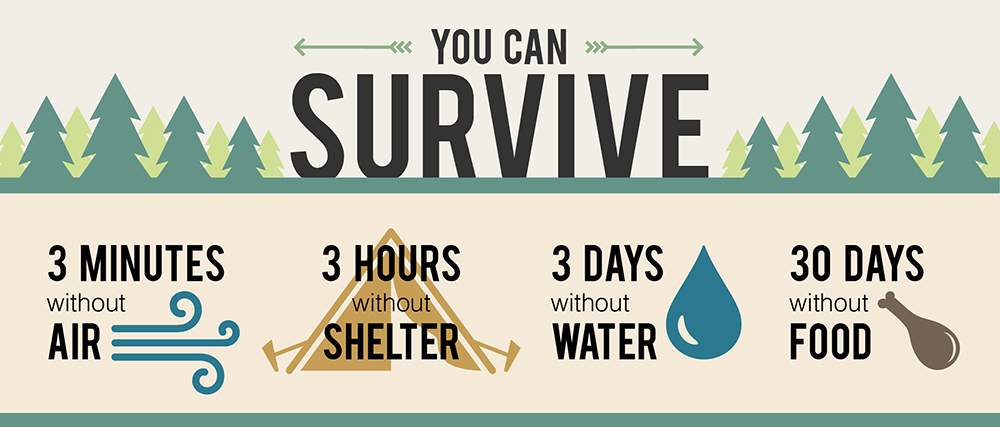
Survival Tips: Rule of Threes
In other words, assuming you can breathe, work on getting shelter.
That said, building a shelter can take an awful lot of time – time not well spent if you build a heap of crap that falls on you in the night. Here’s how to get under cover efficiently and effectively.
#1: Consider Your Surroundings
Before beginning to construct a shelter, make sure you’re building in the right place.
Check the ground. No one wants a poke in the back in the middle of the night, even if it’s just a rock.
Check for drainage. No one wants to wake up sleeping in a puddle, even if it’s just rainwater.
Lastly, check which way the wind is blowing. Everyone wants to wake up in the middle of the night getting blown, but not necessarily by the wind.
#2: Don’t Waste Energy
The key to a good survival shelter is simplicity. Don’t spend your first day building part of an elaborate hut and sleeping in the cold.
Pick a structure that will get you through the first couple of nights. You can always spend time improving it if you stay longer than you planned.
If you’re crunched for time, making a heap of sticks, leaves, dirt (aka the garbage of the wilderness) and crawling inside may be enough to keep you warm for the night. Bonus: you’ll wake up covered in filth, aka the “survivalist tan”.
#3: Keep It Small
Another common mistake in shelter construction is making it too big. This is survival – you don’t need room to read in bed, do morning stretches, or even necessarily sit up. The smaller the space, the more efficiently you’ll use your recirculated body heat to warm yourself.
Leave yourself enough space to lie down with a little wiggle room – that’s it. You can build your solarium and exercise room in a separate facility.
#4: Bring a Tarp

Shredded Tarp © waferboard (Flickr)
You don’t always have the opportunity to prepare yourself for survival – but most of the time, you do, so quit being cheap and go buy some supplies. Some cordage and a tarp or emergency blankets will make a faster and more watertight shelter than all the survival skills we can teach you.
String a cord between two trees and use it as your support beam. You can attach the tarp to make an A-Frame or a lean-to for a simple and effective design, but there are over a dozen configurations for a tarp shelter if you want to get fancy.
#5: Use Natural Elements
If you find yourself without a tarp, all is not lost. There are two great beginner’s shelters that you can make quickly with fallen branches and logs – the A-frame and the lean-to.
Both shelter types utilize the same basic principles – find a tree with a fork in it and brace a beam in the crotch. You’ll need one crotch for an A-frame and two crotches for a lean-to. Stop giggling about the word crotch. If you can’t find a suitable forked tree, you’ll have to lash the stick to a tree instead.
After you’ve secured your beam, lay sticks across it to make the shelter’s structure (two walls for an A-frame and one for a lean-to). Weave pine branches as thatching through your framework. Cover with moss, dirt, or leaves for extra coverage.
The A-Frame (in under 4 minutes)
The Lean-to Shelter (less than 3 minutes)
While the A-frame shelter provides more insulation, the lean-to allows you to sleep with your full body facing the fire. That’s assuming you can build a campfire – if not, brush up on those survival skills and read this.
#6: Insulate Yourself from the Ground
Once you’ve got a basic shelter constructed, you’ll want to protect yourself from the ground. This is particularly important in cold weather.
When you’re stretched out on the ground, heat will transfer between you and the earth until it equalizes. Much like your ex, the earth will never be satisfied with what you have to give, so it’s probably better to just avoid contact.
If you’re pressed for time, use a pile of pine branches or leaves. Lay branches in a herringbone pattern for maximal comfort. You can construct an elevated bed frame from sticks if you have more time.
This is also a good time to either throw down that extra tarp you brought or curse yourself for not bringing a tarp.
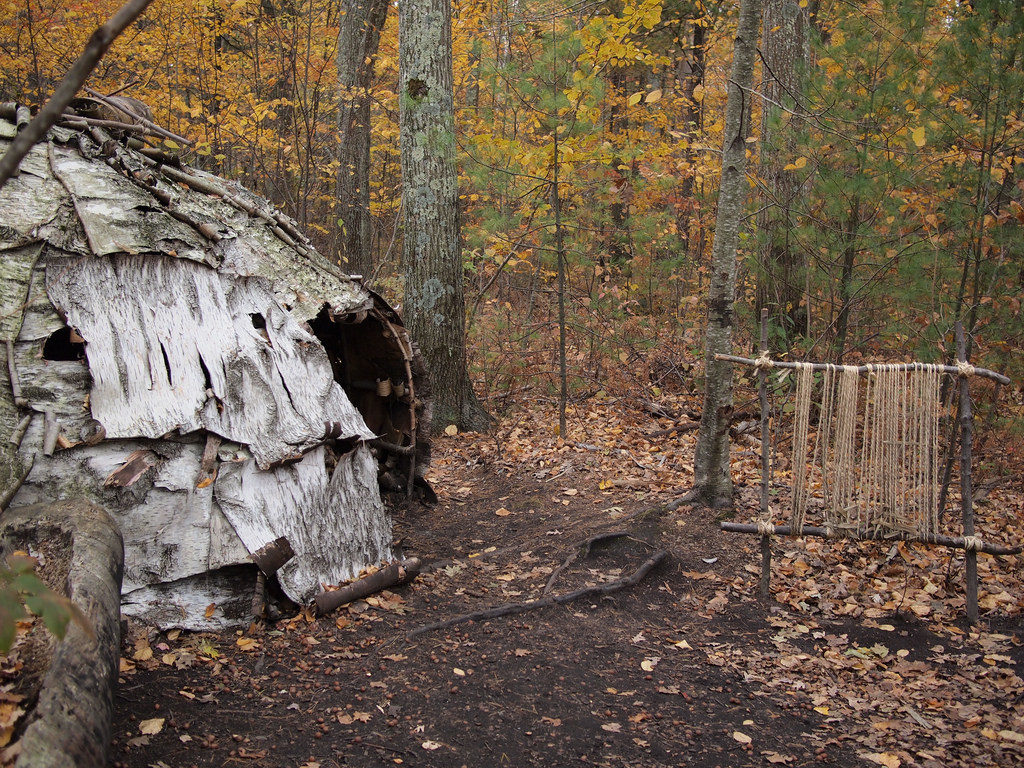
Wigwam Shelter © rickpilot_2000 (Flickr)
#7: Upgrade
You’ll know your shelter works if you make it through your first night. If you face the prospect of many more nights to come, you may want to spend surplus time improving your shelter.
Dig a pit to create a sunken shelter that will hold heat better. Upgrade to a wigwam instead of a pile of crappy leaves. Make proper shingles, thatching, or a firewall. The possibilities are endless.
Use common sense and your uncomfortable nights as a survival guide. You’ll get there. Or you won’t and you’ll die of exposure. It’s always one or the other. Good luck!
For an awesome crash course on wilderness shelter building, check out Shelters, Shacks, and Shanties: A Guide to Building Shelters in the Wilderness.