Knowing how to clean a hydration bladder and maintaining your hydration pack is boring, tedious work. But what’s worse is dying in the backcountry because of thirst or an improperly cleaned — and germ-infected — hydration bladder.
Any outdoorsman worth his salt knows a clean hydration pack is essential to, not only enjoying the outdoors but thriving and surviving in them. But, properly cleaning yours is sometimes more difficult than it sounds.
Here’s a primer on how to clean a hydration bladder like a pro …
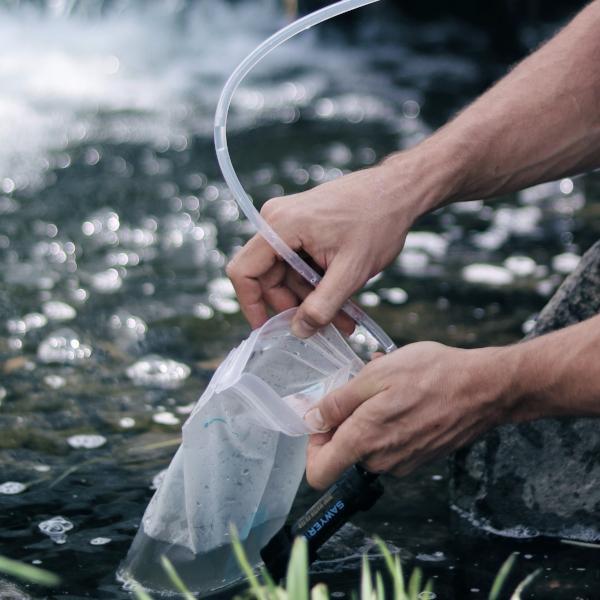
Matador Hydrolite Hydration Pack
How to Clean a Hydration Bladder
First off, keep in mind that the more regularly you clean your pack, the easier it will be each time. If you allow bacteria and gunk to build up over multiple uses, when you do get around to cleaning it, it’s going to be a pain in the ass. So, give yours a good cleaning after every use or — at the very least — every other use.
How to Clean a Hydration Bladder [the DIY Route]
1 Prepare the cleaning mixture. In a large bowl or cup, blend two tablespoons of bleach with one liter of hot water. It’s important to prepare the mixture in a separate container so the undiluted chlorine bleach doesn’t make direct contact with your hydration bladder. 2 Pour the mixture directly from the measuring cup into the hydration bladder, ensuring that it circulates through every part of the bladder including the tube, valves, mouthpiece, and any threading (from a screwcap). Let rest for 30 minutes. 3 Drain the solution from the bladder, taking extra care to get as much of the bleach solution out of the tube and mouthpiece as possible. This step is often neglected but is among the most important. 4 Gently wash the hydration bladder. Once you’ve poured as much of the bleach solution out of the bladder as possible, clean the inside with castile soap (or lemon juice) and hot water. This step ensures that the bleach and, if it’s been a while since your last cleaning, any mold is scrubbed from the bladder’s interior. Any dishwashing brush will do for the reservoir. The mouthpiece and hose may require something more precise like Q-tips or a purpose-designed hose cleaner. 5 Dry the bag thoroughly. Cleaning your hydration pack is the straightforward part. Properly drying it, however, is arguably the single most important step. Skipping it is the primary cause of bacteria build-up in a hydration bladder. The DIY way to do this is to expand the reservoir as fully as possible to ensure maximum contact of air with the inner material. A racquetball or even a piece of plastic kitchenware stuffed inside to “inflate” the bladder often does the trick.The DIY route is as cheap and easy it sounds. You should be able to clean your hydration bladder with regular household tools and materials. If you’d rather go the pro (read: paid) route, cleaning kits are available from manufacturers like Camelbak.
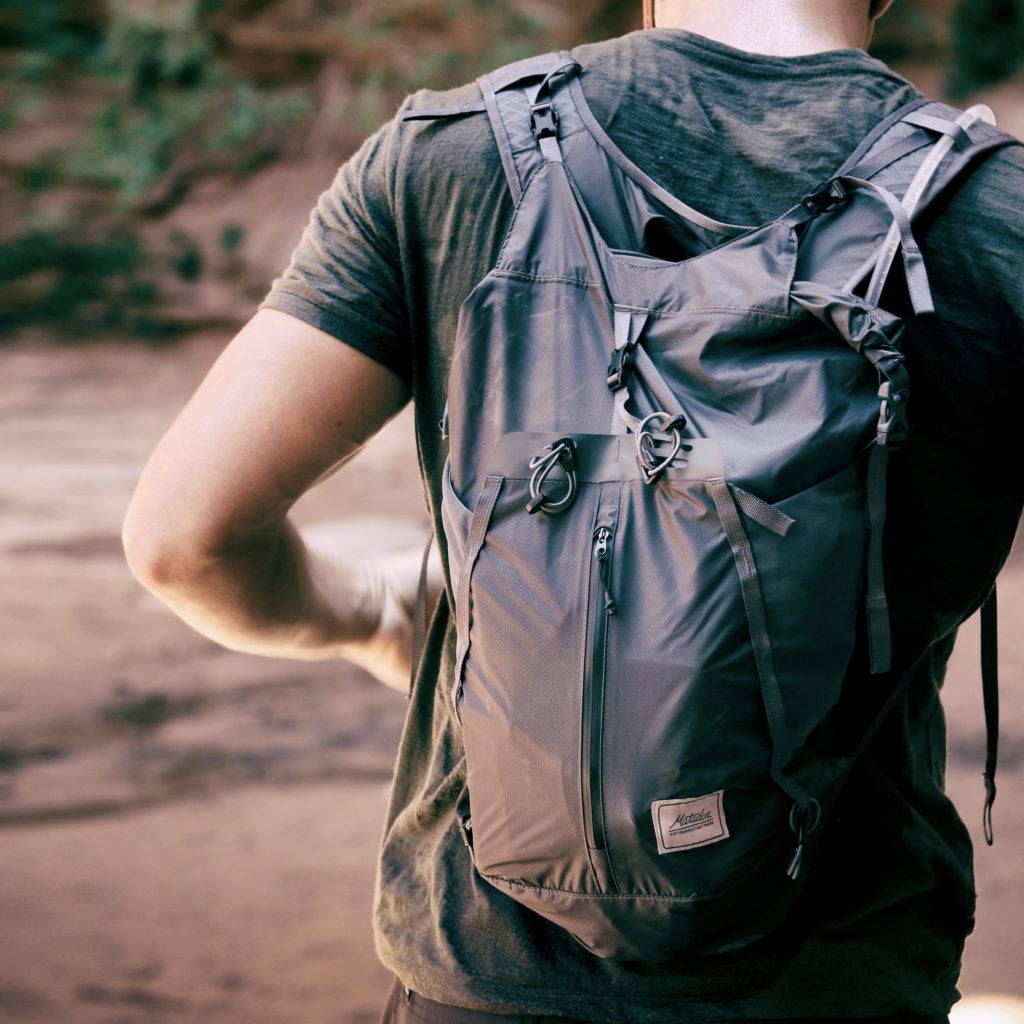
Matador Hydrolite Hydration Backpack
How to Prevent a Funky Hydration Pack
Of course one of the best tips for keeping your hydration bladder clean is to ensure that it doesn’t get nasty to begin with. For that, you’ll need to understand how and why bacteria builds up in the first place.
Mold loves sugar. So, the fastest way to get mold and bacteria in your hydration bladder is to leave it full of sugary sports drinks. The more full you leave the bladder full of all that sweet goodness — seeping into every nook, cranny, hose, and valve — the more likely you are to find it full of nastiness the next time you’re ready to head out. The easiest way to get around this, of course, is to fill yours with only water. The alternative is to use the sugar-free tablets from companies like Nuun, Gu, and even Camelbak.
The second thing mold loves is warm, humid environments. Even if you’re not going to rinse your hydration pack out right away, at least bring it inside. It’s far better than leaving it in the trunk of your car for a month. We’ve also found that hydration packs that spend any length of time in the heat tend to leach more of the reservoir’s plastic taste into your liquid.
If you really want to throw a middle finger to mold growth, go one step further: keep your hydration bladder in the freezer when not in use.
Further Reading on How to Clean a Hydration Bladder
The boys at ITS (Imminent Threat Solutions) put together this solid, 4-minute video on additional cleaning tips, plus a few ways to silence the sloshing in your hydration bladder.
And that’s pretty much everything you need to know for how to clean a hydration bladder.